DIY Vinyl Flooring for Your Home in Singapore
DIY Project: Installing Vinyl Flooring on Your Own
The flooring industry is now thriving with its continuous discovery and production of new flooring options for homeowners – from carpeted floors and ceramic tiles that were a thing of the past to the rise of eco friendly flooring options that are durable and easy to maintain. Vinyl flooring is one of these newly reinvented types of floors that is common in Singapore.
What exactly is vinyl flooring, and what makes it a popular choice in the flooring industry? There is a wide range of vinyl flooring options in Singapore that will meet your lifestyle and functional needs. Whatever these types may be, there are several advantages of installing vinyl flooring at home or in commercial properties. Due to advanced technologies that are utilised in engineering vinyl flooring, these floors are affordable, water-resistant, durable, easy to install, and of course, visually appealing!
When embarking in a DIY flooring project, it is important to understand the various types of vinyl flooring options for homeowners to help decide which will be the best choice to have installed on your own. Let us look into some of these flooring options:
Types of Vinyl Flooring in Singapore
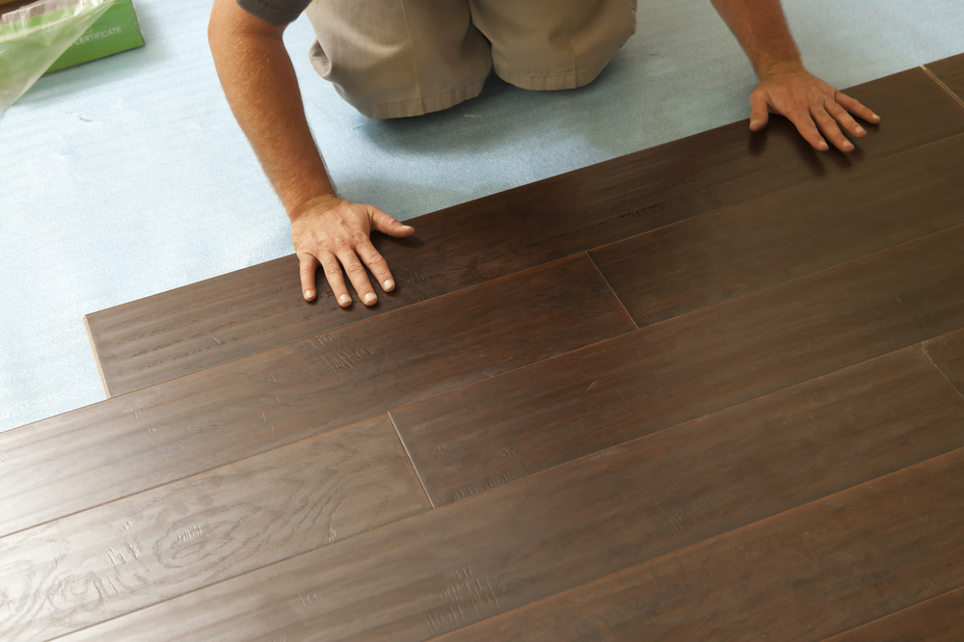
From clickable resilient flooring such as Eco Resilient Flooring (ERF) to glue down EPRF Eco Protect Resilient Floor (Orchid+), the best option for a DIY project would be ERF click-lock floor vinyl. This method of installation is also known as the floating method. These relatively flexible vinyl tiles and planks, like our Eco Resilient Flooring, come with grooves that can be installed directly onto subfloors without any adhesives. This makes it a convenient choice for first-timers as it is mess-free and can be quickly installed if general guidelines and instructions are followed closely. Water-resistant, slip resistant, eco friendly, termite-proof, and easy to install, grab these low VOC vinyl flooring tiles, and get creative!
General Guidelines and Installation Instructions

Eco Resilient Flooring | Thai Teak
Although flooring, such as the Korean vinyl EPRF or ERF, are designed with a strong click system, proper preparation of the subfloors is still required for your DIY project to be successful. Before embarking on the project, check your subfloor condition and be sure to fill up any cracks so that it is flat and smooth. This will ensure that the ERF vinyl planks, or tiles sit properly, and the structural stability of its locking system is engaged when following the natural contours of the subfloor.
In general, the humidity levels and temperature of the space should be kept constant so that the vinyl tiles or planks can be acclimatised to the controlled climate before installation. The area must also be clean and dry, and you should have all the necessary tools such as tape measure, utility knife, and wall spacers, etc. at hand.
Installation process
It is important to note that depending on the subfloors that you have, whether it be concrete subfloors or wood flooring, there are different steps that you will have to take to prep your flooring before proper installation. It is best to seek the advice of a flooring specialist for more subfloor information so that your subfloors do not telegraph through the new floors, and your new vinyl floor tiles stay in place. Subfloor prepping aside, when installing your vinyl floor tiles, follow these guidelines:
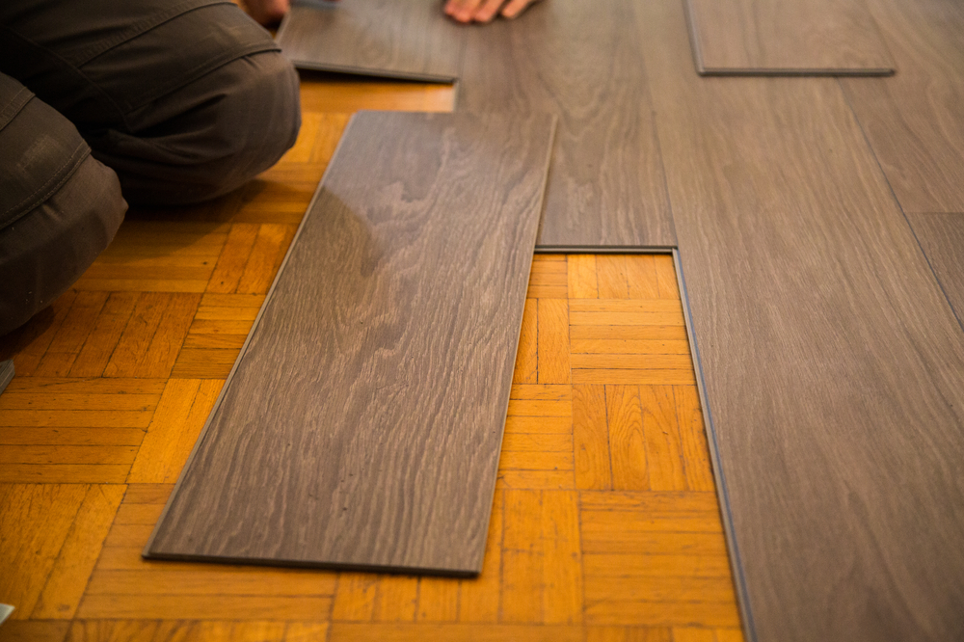
- Before installing the ERF planks, decide on the direction that you would like your flooring to run in.
- It is also important to measure the room to figure out how many full planks will fit the area and how much remaining space has to be fitted with partial planks.
- Be sure to install your planks from left to right, starting for the top left corner.
- Leave some space from the wall for natural expansion and contraction.
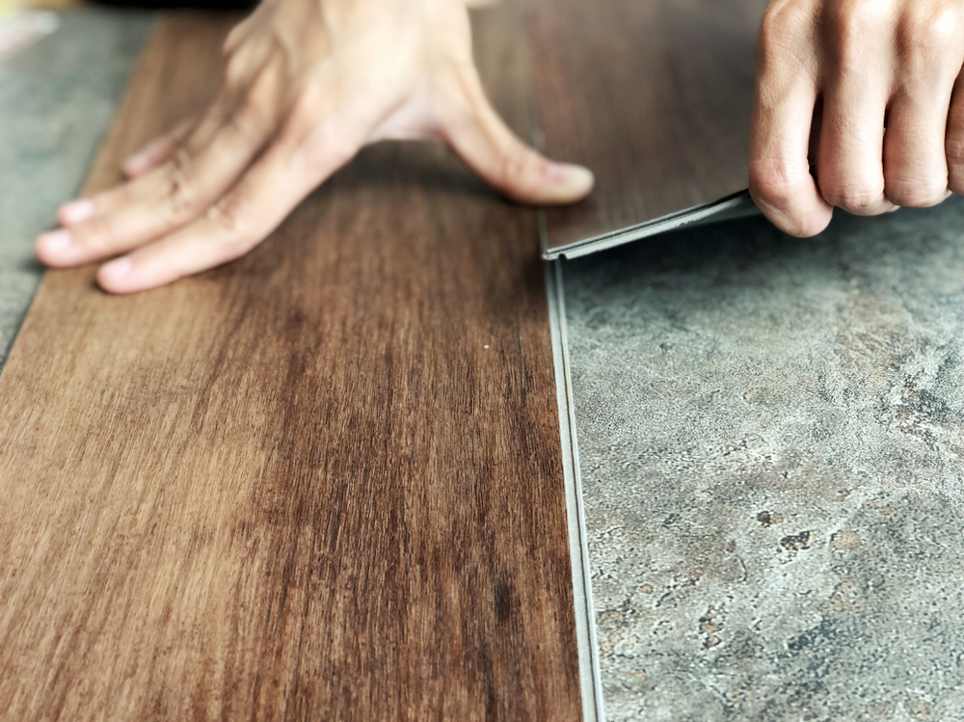
- Fit the tongue of the second plank into the groove of the first and push into alignment with gentle force.
- Use a utility knife to score off excess lengths and snap the planks so that it will fit into corners.
DIY or Professional: Vinyl Floor Tiles & Planks Installation
Embarking on a DIY project with friends and family is always fun. However, to ensure that your DIY project is successful, always consult a flooring supplier. Flooring must be installed properly for it to last longer and to prevent any mishaps in the future. It is thus advisable that the installation of core foundations of your home, such as flooring, be left to the professionals. Besides doing all the work for you, professionals are experienced in installing flooring securely and will be better able to provide you with maintenance advice to care for your brand new eco resilient low VOC vinyl flooring.


